singlechange
One of the Regulars
- Messages
- 162
- Location
- Washington D.C.
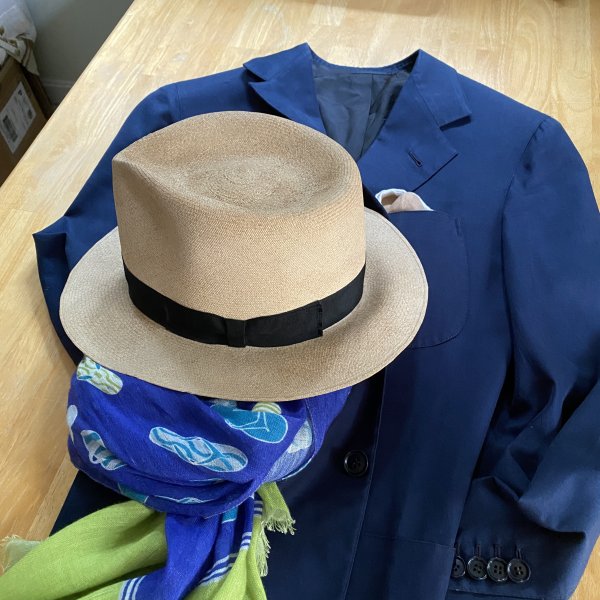
Nice cleaning done on your abused Resistol trilby . Wore this vintage Supernatural panama that I found on Mercari.com to Whole Foods in East Coast summer with 98% humidity. Though not really abused, rescued it for $25.00 on mercari.com. A two tiny chips broken off brim edge and a lot of aging patina. The label says EQUADORIAN PANAMA HAT CO, Supernatural, Genuine Panama, NEW YORK.